It's time to make a quick scrappy kitchen mat from some pretty leftovers.
Figure out the final size of your mat. Make your unfinished pieces - the front, the batting and the back - at least 1" larger to accommodate trimming and a little light quilting.
And if your pieces are not long or large enough, just add extra fabric where needed. Don't forget to make the backing and batting larger as well.
Let's begin: gather those ironed scraps and trim one side straight.
Sew the two straight sides together.
Press seams either to the side or open as you go.
Keep cutting the ragged sides straight - not even as you keep adding pieces and sewing. Some parts will be thick - others thin.
Take some fabric for the back - your choice of scraps or a single piece.
Lay the back piece wrong side up, lay a scrap piece of batting on it and then your final piece. I used some fabric spray to keep all the layers from shifting - but pins are fine too. You have just made a mini-quilt sandwich! At this stage - do a little light quilting to keep all your layers together.
Trim to final size.
Now it's time to use a zig zag stitch on some scrap fabric to experiment with the size of the stitch you like for the edging. You are covering the raw edge so it doesn't fray - and how large and dense you cover the edge is up to you. I used a smaller zig zag in red and went over my mat edge twice for it to really show up.
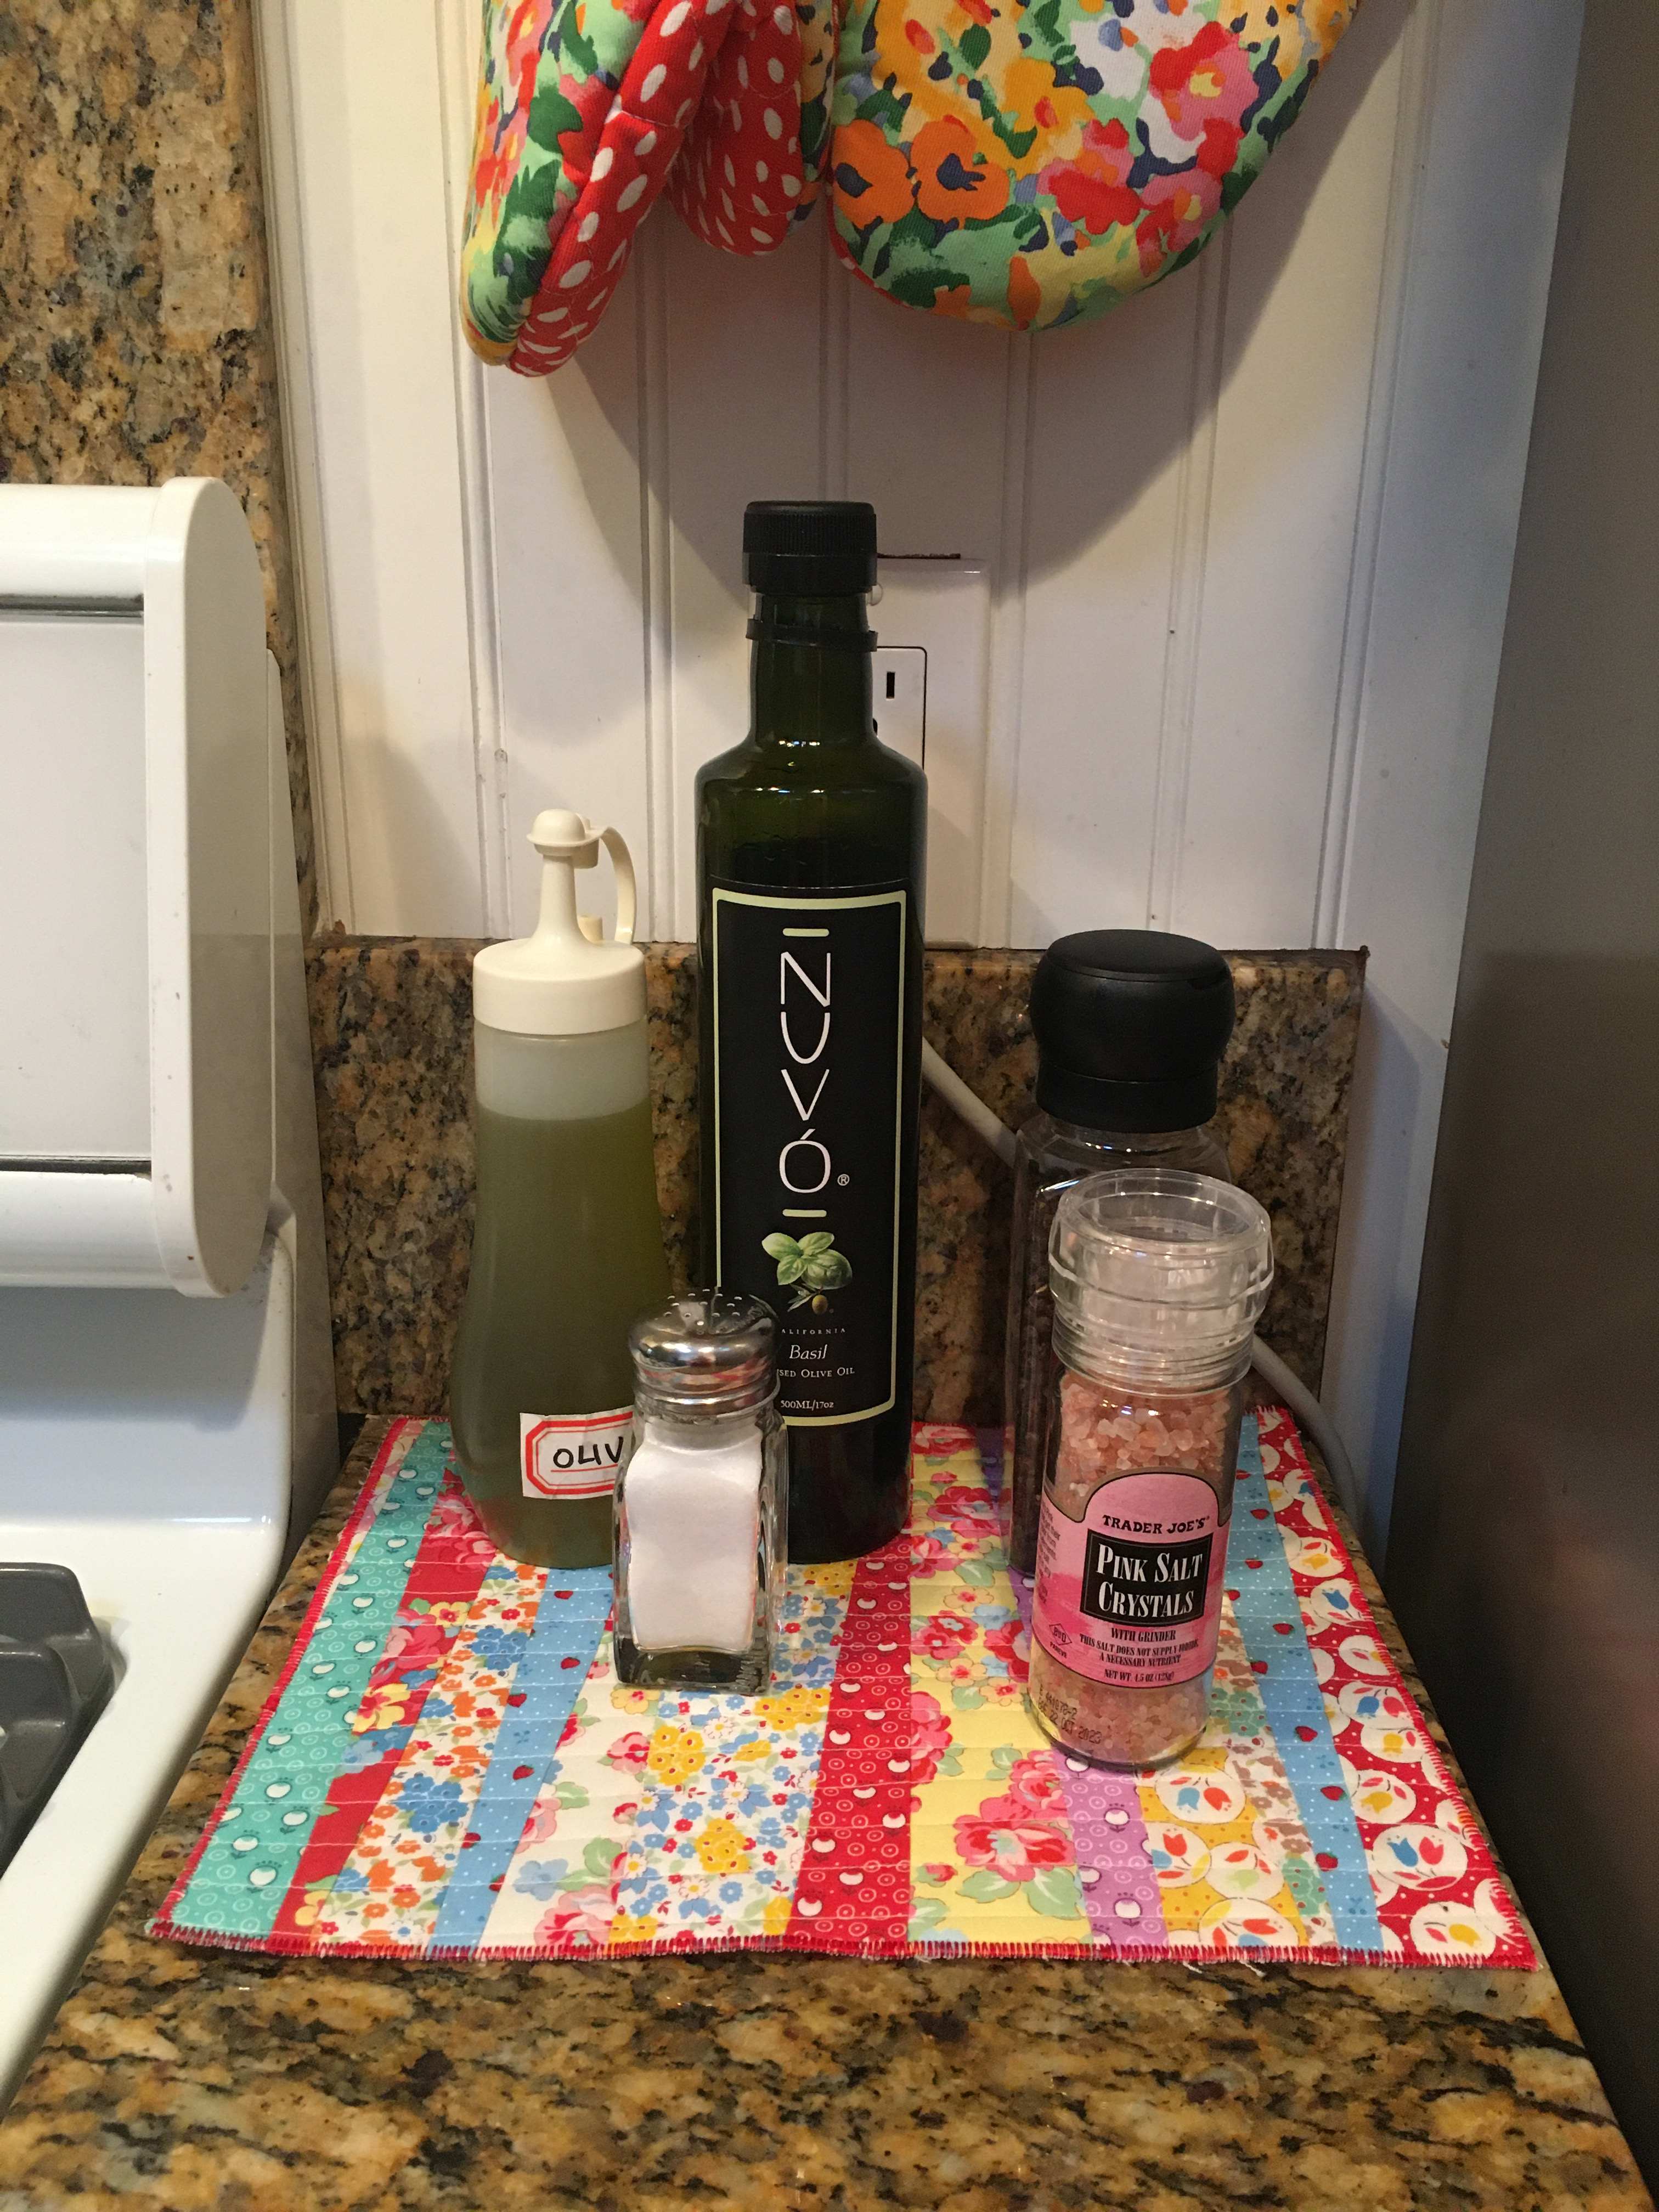
And that's it - a fun, fast, scrappy kitchen mat that is the perfect size and will hold up to machine washing. There is no wrong way to make this. No rules, perfection is not required. Now onto finishing up the little quilts these lovely scraps came from.
Materials:
Scraps of: fabric & batting
March 2021