
My first quilt was a hot mess masterpiece made as a lark. I found an article by Jacquie Gering of Tallgrass Prairie Studio called "Wonky Log Cabin Block Tutorial".
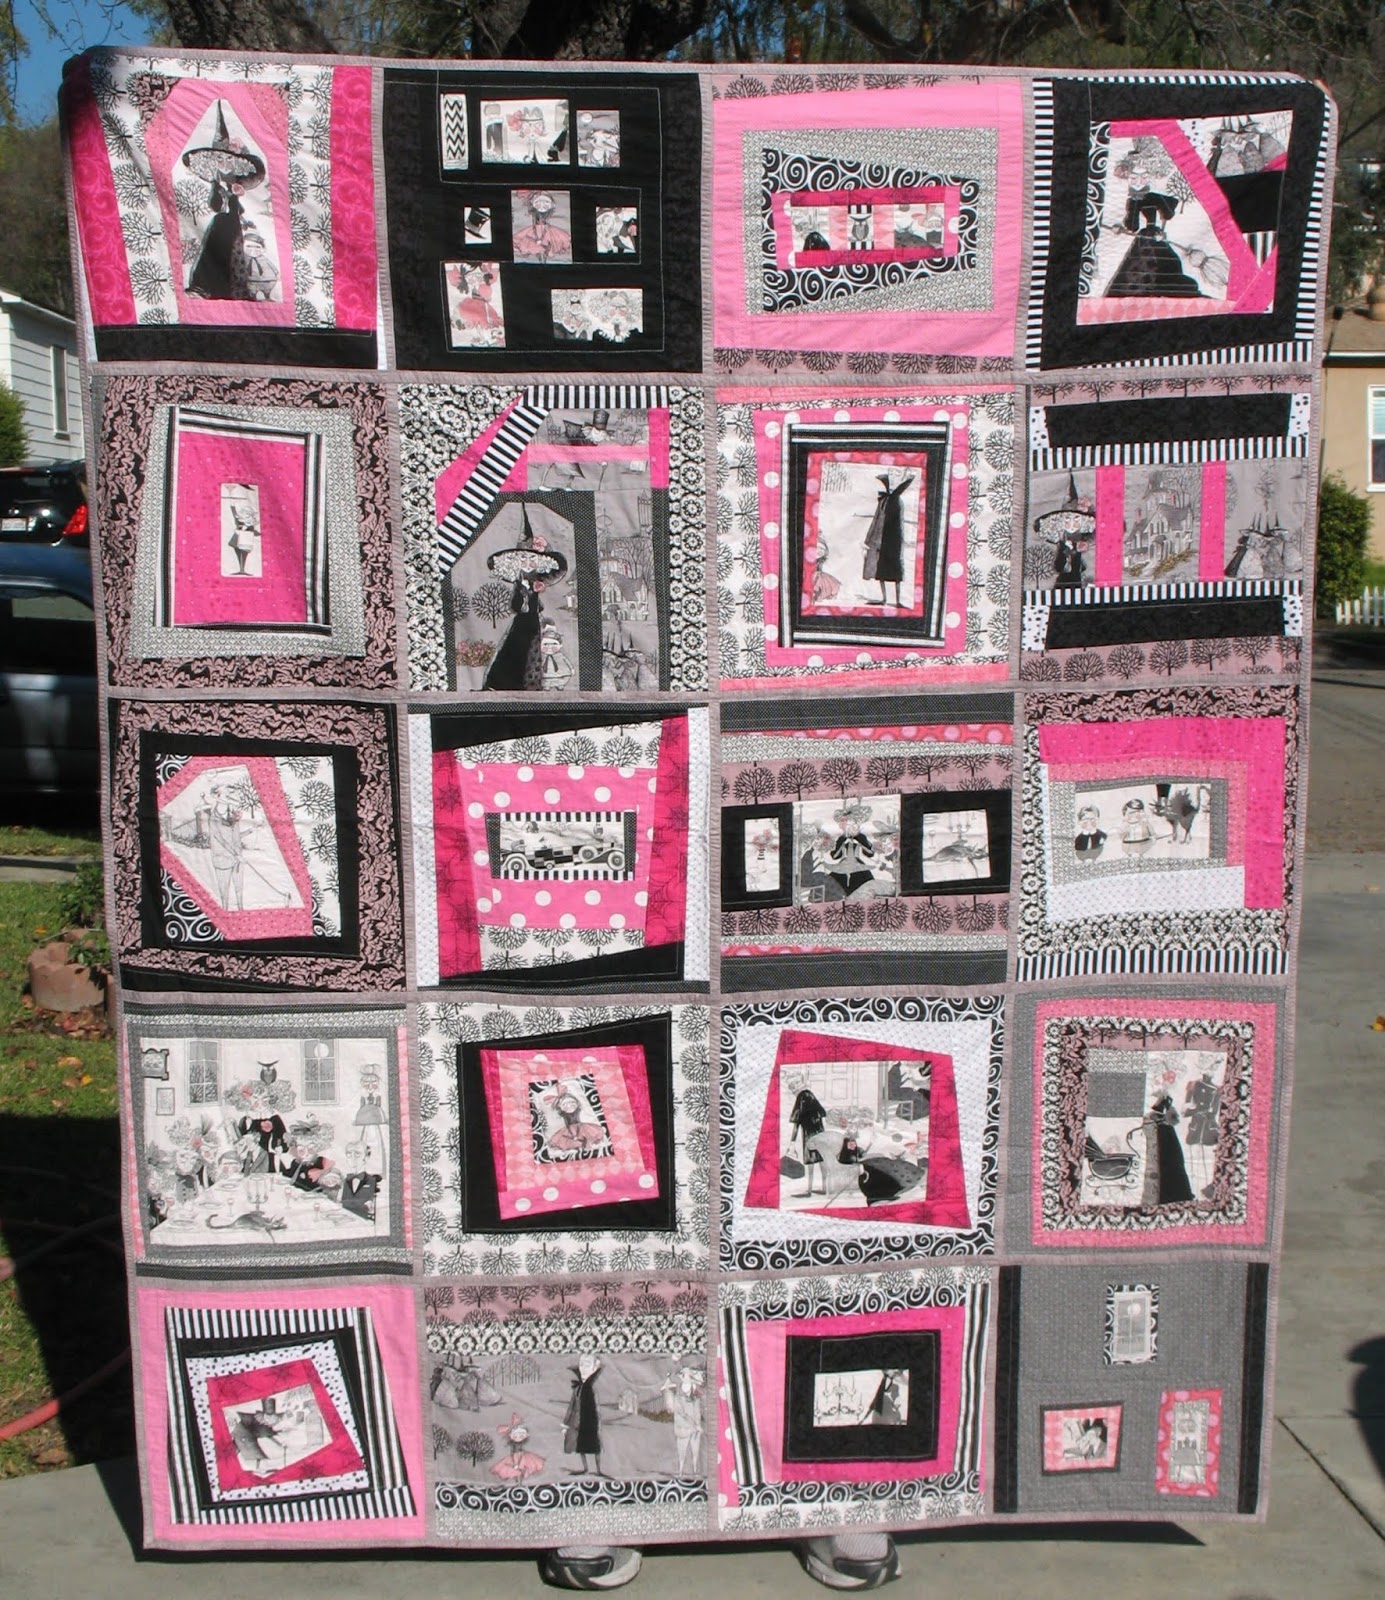
I had the most fun ever making this quilt as I sliced and slashed my way from one block to another following her directions and pictures.

I can still remember the freedom of making these blocks and was hooked on quilting ever since. The same relaxed attitude is how I made these scrappy Grand Canal log cabin squares - although a little more disciplined than those in my beloved Ghastlie's quilt!


Here is a typical pile of end scraps. These are a little thinner than the ones I used in the Grand Canal quilt - but the process is exactly the same. Let's make a small 7.5" x 7.5' log cabin block.

Cut out a center square 2" x 2" (blue). Trim a scrap piece (white) so that it is straight on one side and sew onto a side of your square. Rotate your little unit so that the ruler is straight on the seam line (see the 7" mark laying horizontal) - and trim it even with your original center square.


Sew the scrap strip on the right side of the nicely trimmed unit - turn it and place the ruler on the horizontal seam and trim the sides even.

Place the ruler on the vertical seam - and trim 1". Time to sew another piece, now with red. Trim the red strip straight, rotate the main unit and sew on the strip.

Time to trim the red & flowered fabric using the horizontal seam as a guide (sorry no pix). Rotate unit and put 1" mark of the ruler on the vertical seam (the red fabric) and trim.
Continue sewing strips in this manner, trimming and rotating.

After a few rounds the block is pretty square. At this point I flip it over and line the ruler with the block on the back for those first trims. I find it easier to see the edges this way. Then its back to the iron and trimming on the front side the 1" log' on the vertical seam as usual.
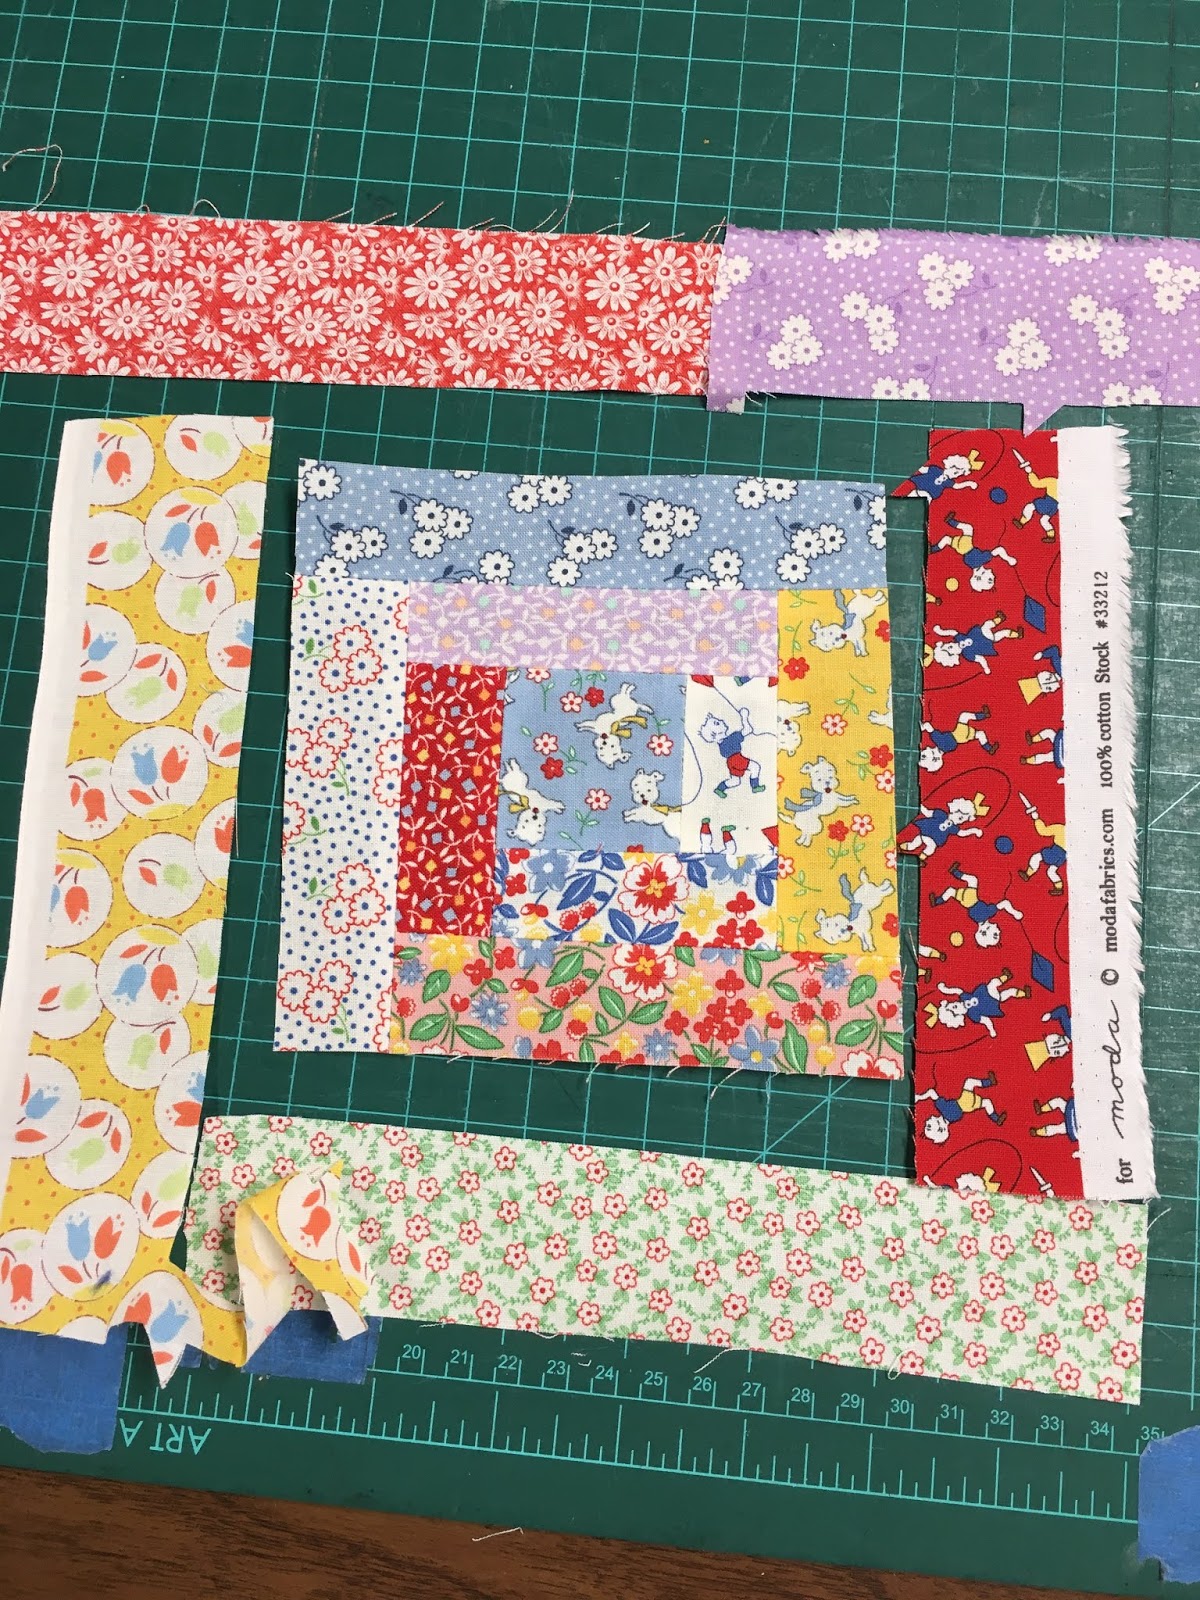
This method does not rely on measuring. But you must make sure that each additional strip is the same length - or even better - longer than the side you are sewing it to. Lay out strips to see if they are long enough as the block gets bigger. And, if the strip is too short - just sew a few together as shown above.
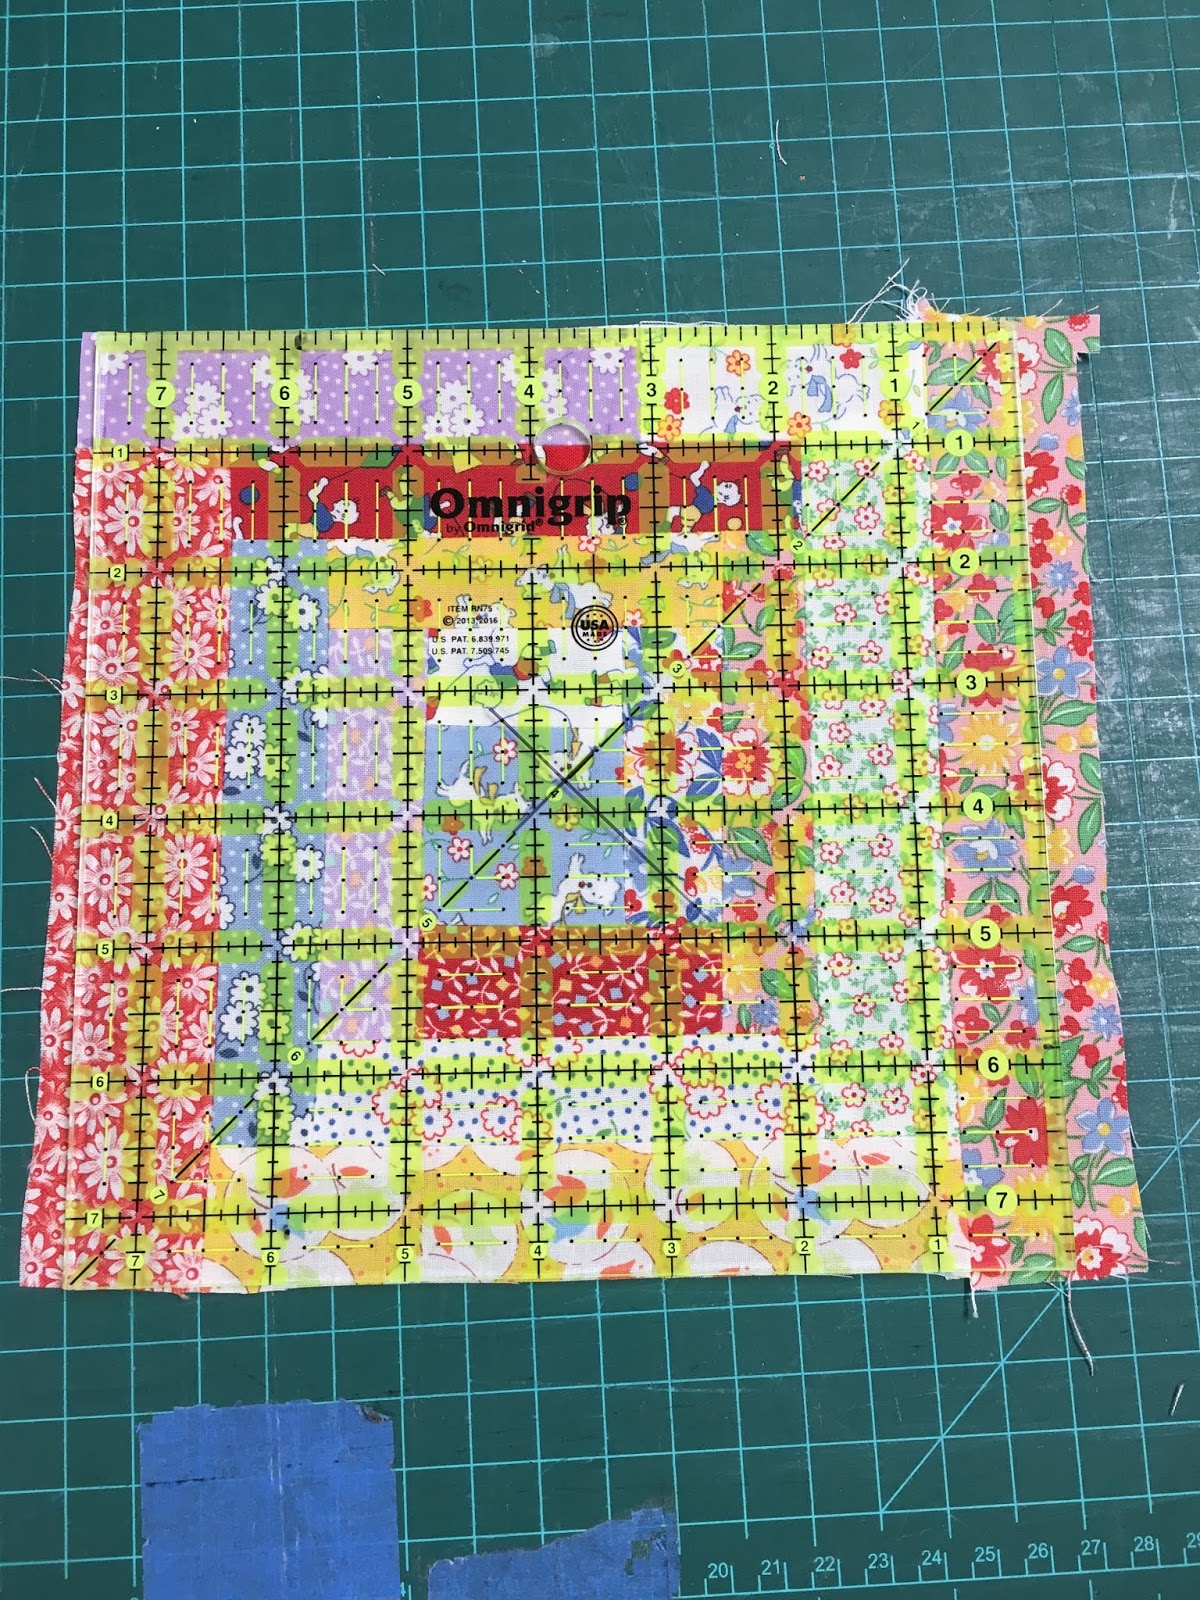
Keep adding strips until you reach the size you like and trim. Shown above is the untrimmed block - and below are the finished 7.5" x 7.5".

Now - the reason I call it a faux log cabin is this: those outside strips may be a little thinner than the inside ones. You might have forgotten to trim one or two logs on that 1" line because ... you forgot! No worries - this block is very, very forgiving and once incorporated into the rest of your quilt the faults pretty much disappear.
For a perfect log cabin square one can measure, cut and use a special template - this is not that block.

The specs for the Grand Canal Scrap Quilt log cabin blocks are:
* starting center square was cut at 2.5" x 2.5"
*the strips (or logs) were trimmed at 1.5" wide
*and the final block was trimmed to 13" x 13"

Back next time with Grand Canal Scrap Quilt / Part Three - Large Granny Square
Materials:
Grand Canal by Kate Spain
Tallgrass Prairie Studio from Jacquie Gering and her awesome Wonky Log Cabin Block Tutorial that started it all
Size: 57" x 57"
Date: August 2019


