Thursday, April 15, 2021

A Star like Quilt - with only 2 blocks!

Here's what is almost finished on the layout board today.  A simple design that consists of only two blocks and looks pretty dynamic.  A little concentration on how to position the units creates a star like look.  I made a larger, but very similar version HERE.

I am not a pattern maker but this is how I made this quilt - please forgive the rough diagram. 
The final size for this quilt is 53" x 53".  All units are 4.5" x 4.5" unfinished.  
You will need:
(64) focus fabric squares - indicated in dark blue
(25) white squares - for corners and between "stars"
(80) half square triangles - trimmed to 4.5" x 4.5"
There are many tutorials that show how to make HST (half square triangles).  I opted to begin mine a little larger than necessary and cut my HST starting pieces 5.25" x 5.25" so I could trim down. 
No matter what size you choose to begin your HST's - you will need 40 focus squares and 40 background squares.  
This will yield you the necessary (80) Half Square Triangles for the design above.
To recap you need: 
  *(64) focus fabric squares,  (unfinished 4.5" x 4.5")
  *(25) white background squares,  (unfinished 4.5" x 4.5")
  *(80) Half Square Triangles  
           made from 40 focus/40 background squares
           final trim size unfinished 4.5"x 4.5" 
           
  
I opted to sew the (16) four-patches together first - and add the HST's as a second phase.  It's all up to you.  If you layout everything without sewing the four-patches first - you can sew everything together ... row by row. 
Important Note:  If you sew the four patches together like I did above - you will need to sew SOME of the HST's together first - top to bottom.  Basically, the ones that nestle up to the four patch  See pix below. 
I was so focused on balancing all the center squares, (there are 35 different colors & patterns), I didn't think ahead to the construction phase.  
Anyway - keep laying out according to the 'rough' diagram at the beginning of the post. Enjoy seeing your quilt come alive as you arrange the 13 blocks across and 13 rows down.  This is a good time to try something simple with just two blocks that show lots of pretty colors and fabric patterns.
Materials:
Regent Street Lawn 2016 / Moda
Cotton Couture in Bright White / Michael Miller
Aurifil 50wt. Muslin thread (#2311)
Size: 53" x 53"
April 2021

Monday, April 12, 2021

Two Retro Drunkard's Path Quilts

Some of my favorite fabrics have been the Japanese quilting cotton from Lecien, which sadly closed in 2020.  Luckily I had enough of their Retro 30's Child Smile 2016 to make two identical quilts for two sweet sisters.  
All the information on how to make these quilts: the AccuQuilt die, the sewing, trimming - as well as the diagram I made to assemble the blocks are HERE in February's post:  Modern Layout of a Drunkard's Path Quilt.
Today's post shows the pretty finished pictures to maybe inspire you to make a smaller Drunkard's Path Quilt using either the AccuQuilt die or any of the other methods available. 
There are many different sizes of plastic templates and lots of tutorials on how to make your own template out of cardboard and how to sew curves.
If you are hesitant to try curves - start with a larger curve and know you can trim down a block smaller to 'erase' edges that come out wonky.  (That's what I do.) 
While I am not buying much fabric and using my saved stash -  I do enjoy picking different color minkys and bindings to match my current projects.   Hawthorne Supply Co.  is my go-to shop as they have a wealth of minky colors and samples that make the whole process a lot of fun!
An added bonus is that Hawthorne Supply Co. has oodles of coordinating designs printed in these very colors to match their minky.  While these little quilts have just a white minky backing -  Hazel likes purple so her binding is Lilac, while Mia likes pink, so her binding is Begonia -- both in the collection called "Candy Stripe."
All quilting was done with a walking foot in a wavy line stitch.  The joining seams are quilted with either a pink or purple color - and white thread for the lines in between.  
I learned something making these quilts.  Usually a universal #14 needle worked out great for most of my minky quilts - but this time I had lots of skipped stitches.  My sewing machine repairman (and many quilt bloggers as well) suggested trying a top stitch needle - it worked out perfectly.

So that's it for April - sewing up pretty fabric, learning about a new needle - and sending these little beauties to their new home 

Materials:
Retro 30's Child Smile 2016 / Lecien
AccuQuilt large Drunkards Path 7" Finished Die (#55034)
Hawthorne Supply Co. - binding in Candy Stripe Begonia & Lilac printed on quilting cotton 56" wide and white minky
Aurifil 50wt. thread #2425 (pink) #2526 (lavender) & #2024 (white)
Warm & White batting
Size: 45.5" x 45.5"
April 2021

Saturday, March 27, 2021

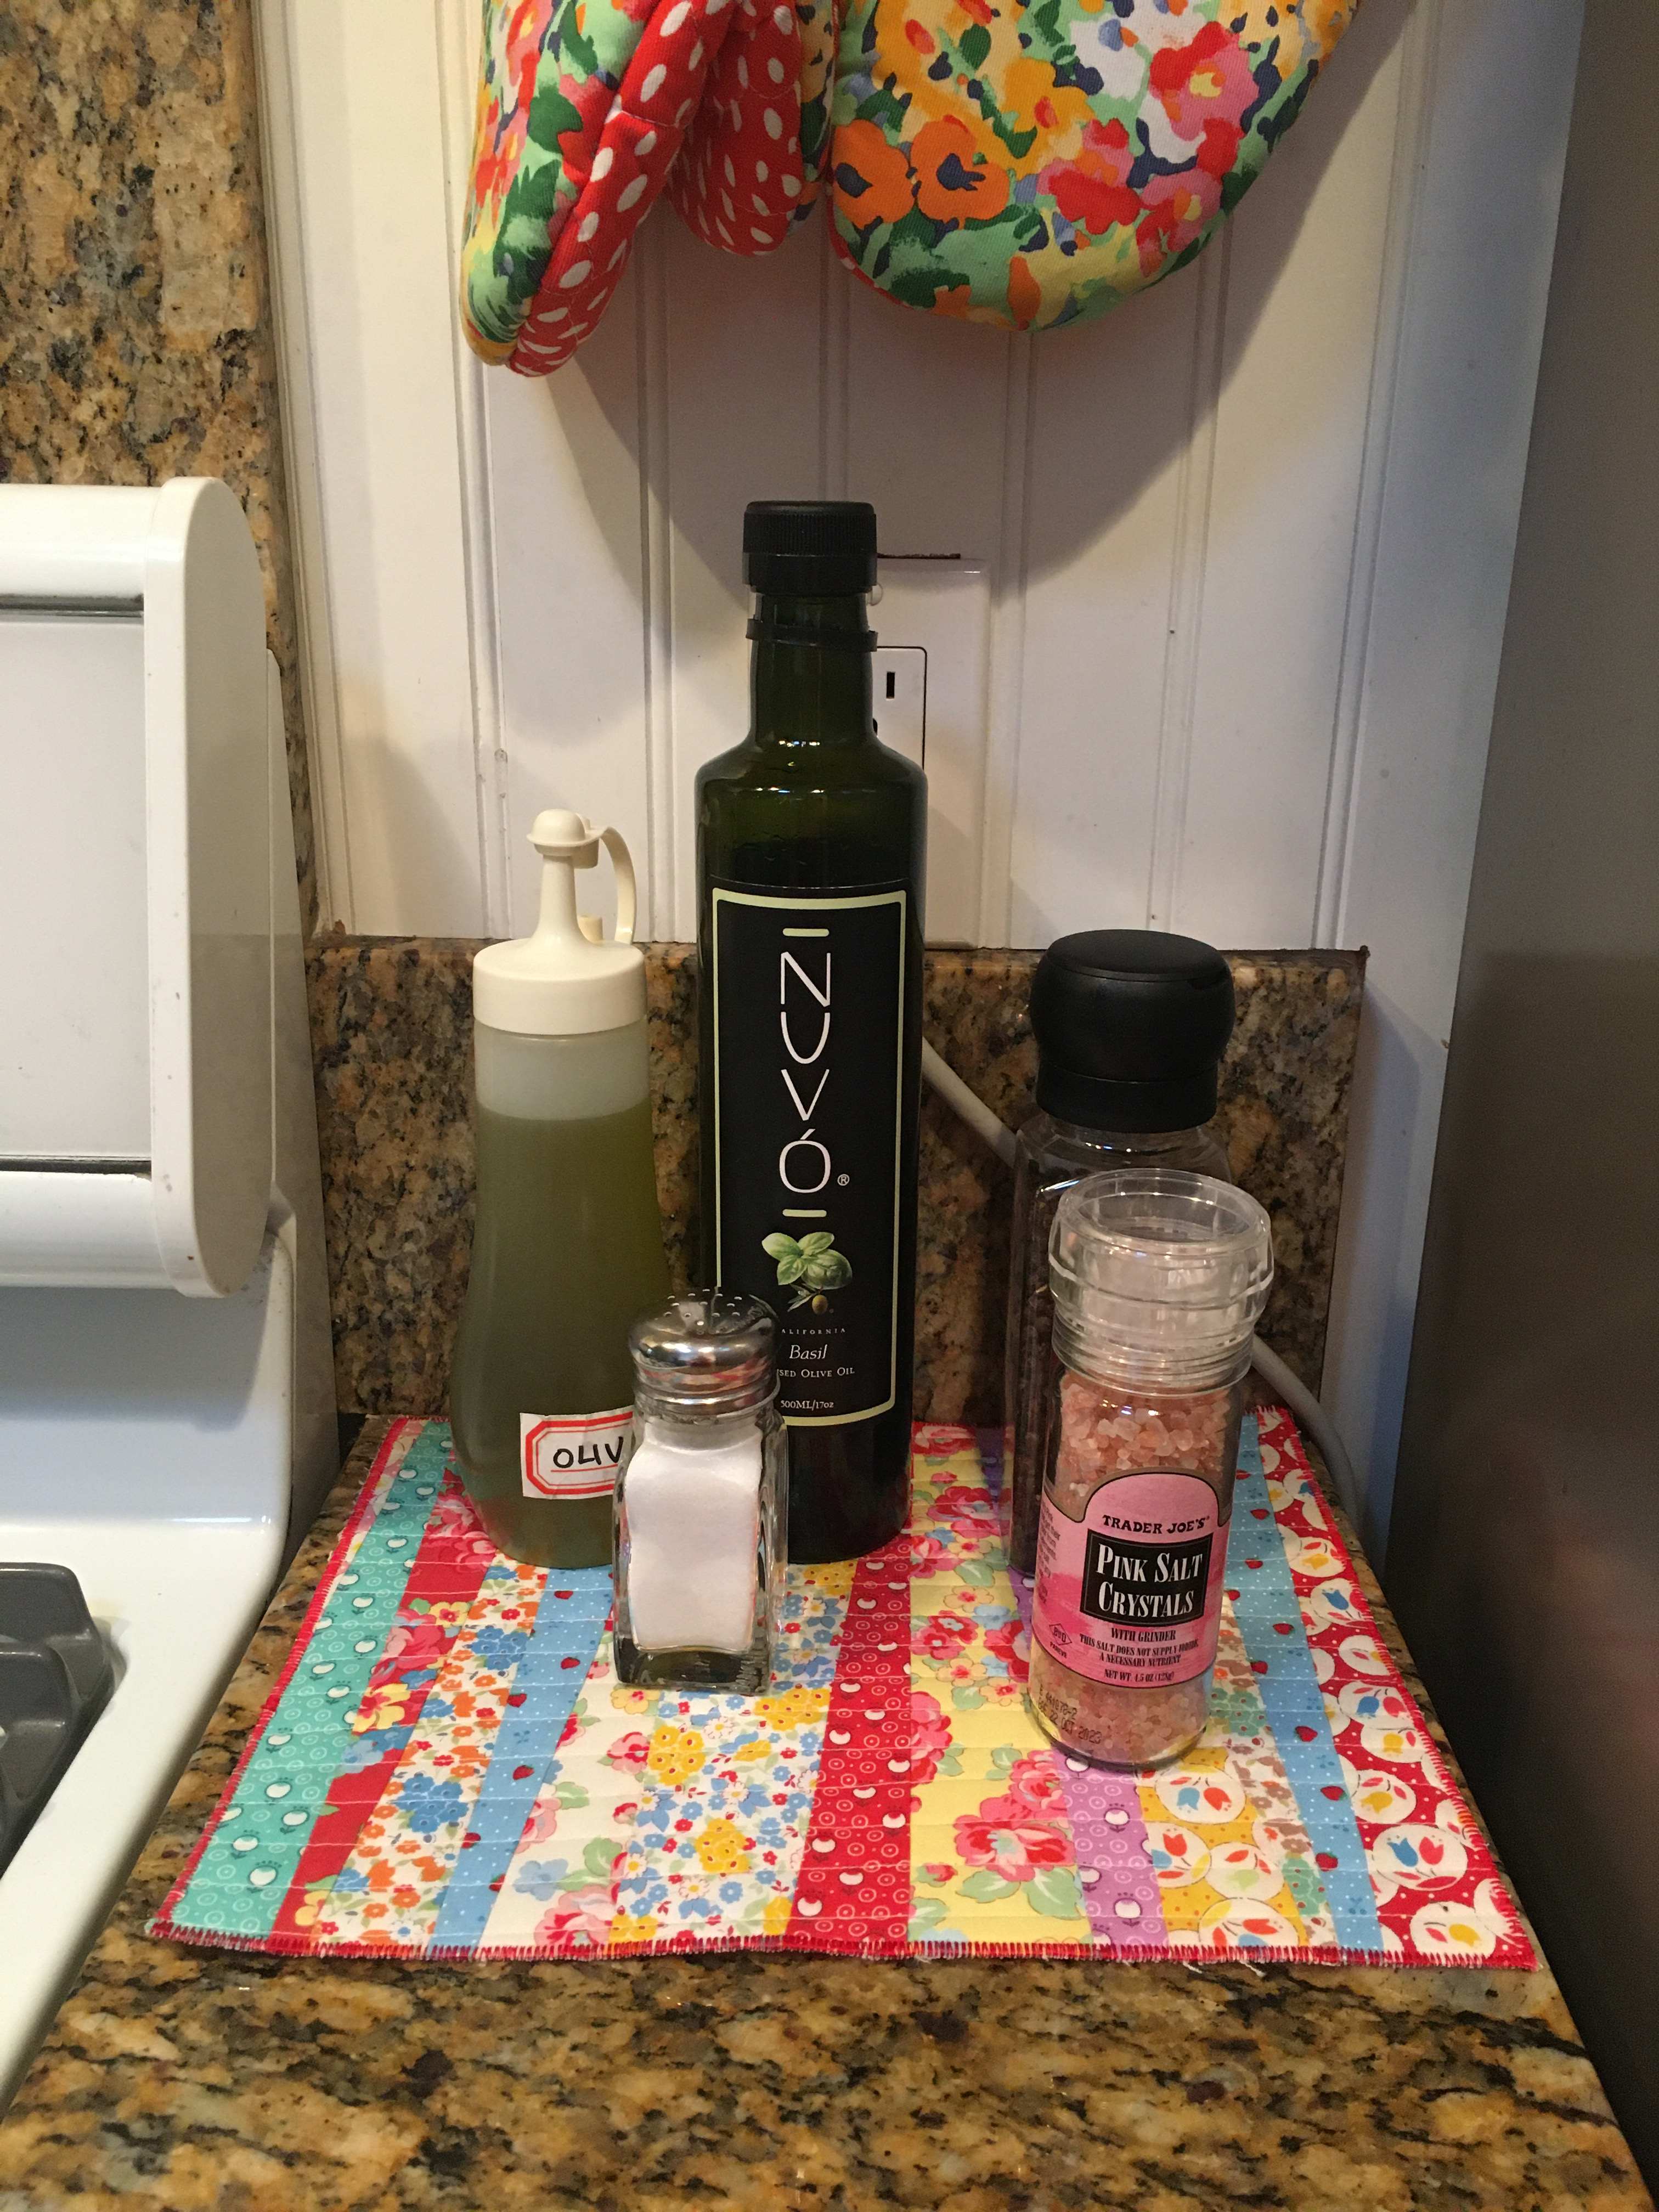
Scrappy Quilted Kitchen Mat Tutorial

It's time to make a quick scrappy kitchen mat from some pretty leftovers.  
Figure out the final size of your mat.  Make your unfinished pieces - the front, the batting and the back -  at least 1" larger to accommodate trimming and a little light quilting. 
And if your pieces are not long or large enough, just add extra fabric where needed.  Don't forget to make the backing and batting larger as well.  
Let's begin: gather those ironed scraps and trim one side straight.
Sew the two straight sides together.
Press seams either to the side or open as you go.  
Keep cutting the ragged sides straight - not even as you keep adding pieces and sewing.  Some parts will be thick - others thin.  
Take some fabric for the back - your choice of scraps or a single piece.
Lay the back piece wrong side up, lay a scrap piece of batting on it and then your final piece.  I used some fabric spray to keep all the layers from shifting - but pins are fine too.  You have just made a mini-quilt sandwich!  At this stage - do a little light quilting to keep all your layers together.  
Trim to final size.  
Now it's time to use a zig zag stitch on some scrap fabric to experiment with the size of the stitch you like for the edging. You are covering the raw edge so it doesn't fray - and how large and dense you cover the edge is up to you.  I used a smaller zig zag in red and went over my mat edge twice for it to really show up.
And that's it - a fun, fast, scrappy kitchen mat that is the perfect size and will hold up to machine washing.  There is no wrong way to make this.  No rules, perfection is not required.  Now onto finishing up the little quilts these lovely scraps came from.  

Materials:
Scraps of:  fabric & batting
March 2021 

Wednesday, February 24, 2021

Modern Layout of a Drunkard's Path Quilt

On the layout board is the first of two identical Drunkard's Path quilts being made for a pair of little girls. It's so much fun making pretty quilts!  My garage lighting isn't the best for pictures but Lecien Retro 30's Child Smile 2016 fabrics never disappoint in color or pattern.
Nicely ironed and starched fabrics work like a breeze with the AccuQuilt large Drunkards Path die - but hand cutting with templates would work just as well. The most important part for me is the ability to trim after sewing.  No matter how many times I have sewn curves - they never come out consistent.  So, rather than fight a losing battle - I trim to a smaller, but consistent size. 
 This loosey goosey method will not work when following a rigid pattern.  But success is within your reach if you have a consistent sized block and make the layout any way you like.  I chose to trim all blocks to 7" x 7" - putting the ruler on the 6.5" marks of the curve (shown by the red arrows). 
That way all curves will match when everything is sewn together. 
Below is a very rough layout of how I made this 49 block / 7 blocks across by 7 rows down quilt which measures 46" x 46" finished.

Ready to iron and trim the blocks for quilt #2 and then assemble with white minky on the back, lavender binding for one, pink for the other - and matching threads!
Materials:
Lecien Retro 30's Child Smile
Hawthorne Supply Co. binding in candy stripe/ Begonia & Lilac
White dimple dot minky from Hawthorne Supply Co.
Warm & White batting
Aurifil 50wt. #2425 (pink) & #2526 (lavender)
AccuQuilt large Drunkards Path 7" Finished Die (#55034)
February 2021

Friday, January 22, 2021

Four Patch in a Sqaure

It's funny how fabric you loved in 2012 might not be a favorite in 2021.  But when I found some forgotten Lucy's Crab Shack charm packs it brought back fond memories and a desire to make a simple, no stress quilt.
A great source for Four-Patches using 5" squares is Mary from Me & My Sister Designs and her video from The Fat Quarter Shop.  I followed every step of her video to make all my four-patches.
Each four-patch was supposed to end up 4.5" unfinished - but mine didn't - so I trimmed them to 4". 
This extra trim meant that I could cut a 5" square into 4 pieces,  twice on the diagonal - and make a square in a square (or economy block).  The math worked out.  Even a 4.25" center square 4-patch was too large to accomplish my goal - using up all the Lucy's Crab Shack charm squares and no other fabrics.  
Other inspiration came from Jolene of Blue Elephant Stitches - and her lovely quilt and post here. She also has a link to a tutorial on how she made her quilt - and here is my tutorial of the same block but in a larger size.  
The final trim of the block is 5.5" with hardly any waste at this stage.   So, that's what on the sewing table right now - a simple, very beginner friendly block made with  pre-cuts.   

Materials: 
Lucy's Crab Shack from Sweetwater
Four-Patch Tutorial from Me & My Sister Designs here
Thanks to Blue Elephant Stitches for inspiration
January 2021

Tuesday, December 29, 2020

Square in a Square - Time to Sew (part 2)

To recap, the previous posts are: The BeginningThe Math and Time to Sew (part 1).  Now let's finish this off with the final square,

Put a pin to mark the center point of the 7.5" x 7.5" trimmed square.  Fold over the larger triangles wrong sides together and make a center crease.  Line up the center crease with the pin ... and pin away.  
Now, flip the pinned unit over and begin sewing with the smaller square on top.  It is not necessary to begin at the tip of the triangle - but start about 1/2" away from the middle square.  The pictures above show what you should see when you begin to sew.
Press seams open and trim excess, using the 7.5" block as a guide.  Do the same thing all over again on the remaining side:  put a pin in the midpoint and line up with a creased larger triangle.  See pixs above.  
However, for this last bit of sewing - do not flip over the unit to sew.  Because the triangles are now smaller than the whole unit - it's easier to sew with the front facing you.  Start sewing at the tippy top of the triangle and continue all the way to the bottom.
Iron seams open and voilà - the final block is complete.  The unfinished size is a wonky 13.5" so I suggest trimming to 13.25" or 13".  
On the left is Grand Canal by Kate Spain and on the right is Finnegan by Brenda Riddle.  Both made from two layer cakes each and perfect for a beginner.  
Even if everything goes horribly wrong - just trim the middle and outer squares a consistent size throughout and while the block will be a little smaller ... no big deal.  There is enough fabric between squares to trim and never loose a point!
It's obviously great to make this quilt with fabric on hand.  I have a variety of blacks and greys from Zen Chic - and the square in this tutorial is from that.  A quick mock-up of what my next 'Square in a Square" quilt will look like is here.  15 squares will start with a dark center, light middle and dark outside.  And, 15 squares will start with a light center, dark middle and light outside.  

Any combo is possible and I hope in the New Year you try this and enjoy it as much as I am.  Here's to a happy and healthy 2021 - Ruth :)

December 2020


Monday, December 28, 2020

Square in a Square - Time to Sew (part 1)

At last, the sewing portion of a Square in a Square quilt made from (2) layer cakes (or scraps). Earlier posts on fabric selection and cutting are HERE and HERE.  Recap of the pieces you should have:

Take the center square and fold in half - right sides together to make a crease.  If you have darker or busy fabric - use a marker or chalk.  I used a white pencil.  Take your middle triangles and fold them in half wrong sides to together - and make a center crease.  (Pictures below)

Put the middle triangle on top of the center square - and the creases should fit into each other.  That's your mid-point and while for this particular block finding the exact center isn't necessary - it's good practice for more refined blocks you may make in the future. 

Pin two triangles on opposite sides as shown above.  Then flip over the whole unit and start sewing with the center square facing up.  I like smaller pieces on top of larger ones so I can see if anything shifts or needs aligning. Because I also tend to crumple up the tiny tip of the triangles when I chain piece this block - I cut the thread and restart sewing a new unit each time. 
Follow the outline of the center square which is 5" and trim off over lapping ends. Iron seams open. Then do the exact same thing on the other two sides.  Match creases, pin and sew.  Flip everything over again and below is what is looks like from the back when you are sewing. 

The picture below shows how the block looks with seams pressed open.  To trim - I use a 7.5" ruler which makes it very easy - but any sized ruler will do.  Find the mid-point at the top (red arrow) and mid-point at the side (blue arrow) and trim.  That's the 3.75" mark on the ruler.
There are many ways to make a square in a square block.  The picture below is more representative of how others make their blocks - they leave a 1/4" between the point and the edge of the block.  This means that the 'squares' are tighter next to each other and the points almost touch when everything is assembled.
Whereas you can see from the dreaded red arrows below - my way leaves lots of fabric between the points and the edge of the block.  This is because I trim as little as possible to use as much fabric as I can from each layer cake.

The original size of the layer cake (10" x 10") dictates the basic measurement of 5" squares for the center and middle portion.  And, I am not keen on cutting more than an inch off the outer square to 9". Any more cutting and it defeats the whole idea of using a pre-cut. 
We still have the outer triangles to assemble and trim - but that's it for now.  More pictures and directions will finish off this block in the next post.  Until then, here is your amazing 7.5" x 7.5" square. 
Here is a picture of what the final block will look like and how much you trim for each block.  It's mostly from the last square - but more on that later. 
The final unfinished size should be 13.5" x 13.5" - which I can never do because one side is always off.  I will put the blame on my love of steam ironing (haha) - but realistically you can get nice 13" to 13.25" square.  I trim down a little further to 12.5" because I have a ruler that size and it works for my minky quilts. Thanks for reading :)

December  2020